
EasierThanIThought
Easier Than I Thought
Announcement
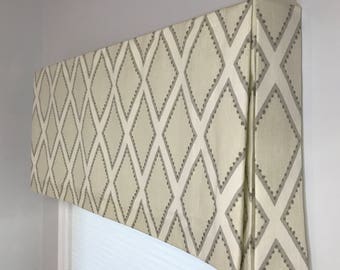
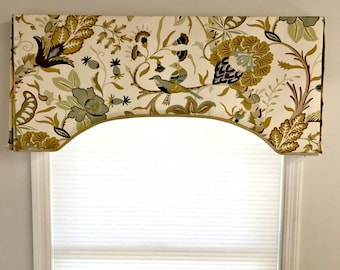
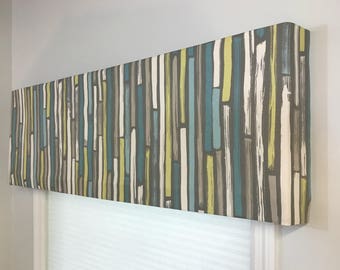
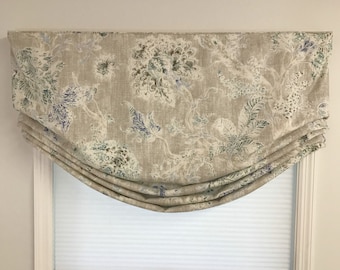
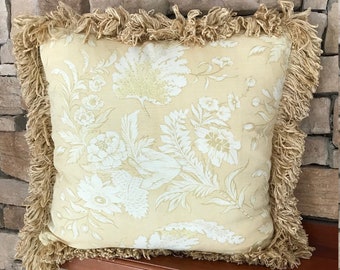
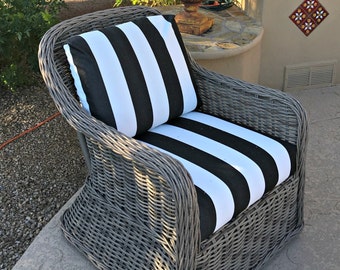
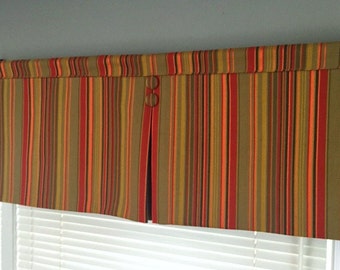
From window treatments to pillows, decorate your home with soft furnishings using the fabrics you love. Let me make something unique for your home and give it that one of a kind flair.
Featured items
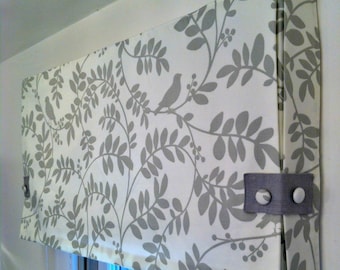
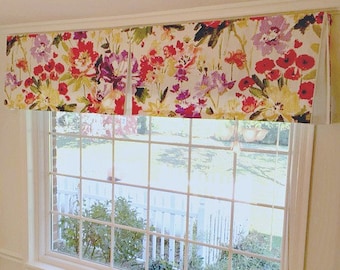
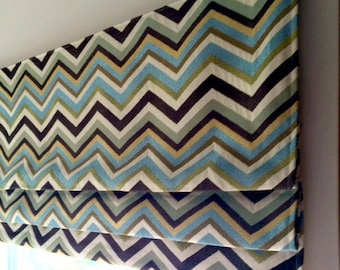
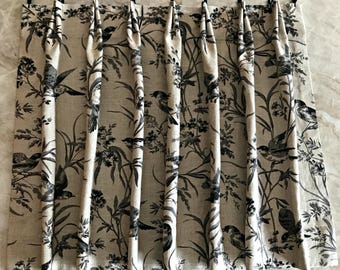
Items
All Items


Reviews
-

-
-
-
Teryn on Jan 31, 2024
5 out of 5 starsIt really is "easier than I thought" using this company. Ahna is very good at what she does...beautiful work!
-

Michele on Jan 20, 2024
5 out of 5 starsAhna made the process so easy. I had LOTS of questions and she was helpful from ordering to installation
-
Jessica on Jan 15, 2024
5 out of 5 starsGreat quality, price and communication. I first priced my local decor store and the same project was quoted for 3x the price.
-
sgmcintire on Dec 3, 2023
5 out of 5 starsAhna is very talented and a pleasure to work with. I was impressed by her attention to detail and responsiveness. Before ordering, I had lots of questions. She answered all of my questions and made sure that the details were correct before we finalized the custom order. Then I sent her the fabric and she made a beautiful valence that is absolutely perfect for my room. All of her communications with me were clear and timely. I highly recommend her to anyone who is seeking a quality window treatment at a great price.
-
Tracey on Dec 2, 2023
5 out of 5 starsLove, love, love. Beautiful valances. Excellent customer service and communication throughout the design process.
-
Tracey on Dec 2, 2023
5 out of 5 starsLove, love, love. Beautiful valances. Excellent communication with shop throughout the process.
-
lenning68 on Nov 30, 2023
5 out of 5 starsAhna was so great to work with. We ran in to some problems with shipment of the fabric I had chosen and Ahna coordinated with me and we worked it out. We talked on the phone once she began making my order (very soon after she finally received the fabric) so that she could get specifics info needed. She was so great to work with! I love my new box pleat valances. I would definitely recommend Easier Than I Thought to anyone who is looking for custom valances. I'm thinking about getting valances for another room and I will go with Easier Than I thought!


About EasierThanIThought
Give your furnishings a facelift.
Shop members
-

Ahna
Owner
Shop policies
Accepted payment methods
Returns & exchanges
Cancellations
Cancellations: not accepted
Please contact the seller if you have any problems with your order.
More information
Frequently asked questions
What kind of fabric should I look for?
You should look for a 54" wide home decor fabric in a light to medium weight.